Run a validator cluster
This Validator cluster build following Sentry node and Seed node build
This guide explains how to configure and start a Validator Cluster.
A Validator Cluster (or Clustered Node) is a Validator node surrounded by at least one Seed and Sentry node.
Once this is completed, it can be staked.
Networks
Testnet
Mainnet
Your network was selected at the Build Environment stage.
cudos-noded tendermint
Tendermint subcommands

Usage:
  cudos-noded tendermint [command]

Available Commands:
  reset-state      Remove all the data and WAL
  show-address     Shows this node's tendermint validator consensus address
  show-node-id     Show this node's ID
  show-validator   Show this node's tendermint validator info
  unsafe-reset-all (unsafe) Remove all the data and WAL, reset this node's validator to genesis state
  version          Print tendermint libraries' version

Flags:
  -h, --help   help for tendermint

Global Flags:
      --home string         directory for config and data (default "/var/lib/cudos/cudos-data")
      --log_format string   The logging format (json|plain) (default "plain")
      --log_level string    The logging level (trace|debug|info|warn|error|fatal|panic) (default "info")
      --trace               print out full stack trace on errors
00 Prerequisites
This step assumes you have already built your environment and selected a network. See the Build Environment instructions for your selected network.
You have already built and synchronised the required Seed node(s) and Sentry node(s) to be added to your cluster.
Get the spreadsheet you made with Tendermint Nodes IDs, Internal IPs, External IPs
A Validator node must only connect to one or more Sentry node(s)
01 Modify config files
cudos-noded-ctl adds usability to configuration by creating a single file for a single configuration parameter.
- Modify seeds.config file
cudos-noded-ctl set seeds "$CUDOS_HOME"/config/seeds.config
- Edit the file by deleting all existing seeds.
nano /var/lib/cudos/cudos-data/config/seeds.config
- Modify persistent_peers.config file
cudos-noded-ctl set seeds "$CUDOS_HOME"/config/persistent-peers.config
run the following command at root
cudos-noded tendermint show-node-id
Example show-node-id
root@node:~# cudos-noded tendermint show-node-id
87d9f4b123456789abc08d6846b6076
- Edit the file by adding the Validator node tendermint ID
nano /var/lib/cudos/cudos-data/config/persistent-peers.config
- Add
<tendermint ID>@<IP address or hostname>:<Port number>
02 Run Validator cluster initialisation script
You must run the script as user cudos or you will see error messages:
su - cudos
cudos-init-node.sh clustered-node
03 Start the Validator cluster
Cosmovisor is used to ensure zero downtime when there are updates and hard forks.
Switch back to root user (CTRL + D)
systemctl enable --now cosmovisor@cudos
EXAMPLE
systemctl enable --now cosmovisor@cudos
Created symlink /etc/systemd/system/multi-user.target.wants/cosmovisor@cudos.service → /lib/systemd/system/cosmovisor@.service.
See what's happening in more detail:
journalctl -f -u cosmovisor@cudos
04 Run cudos-gex for observability
cudos-gex
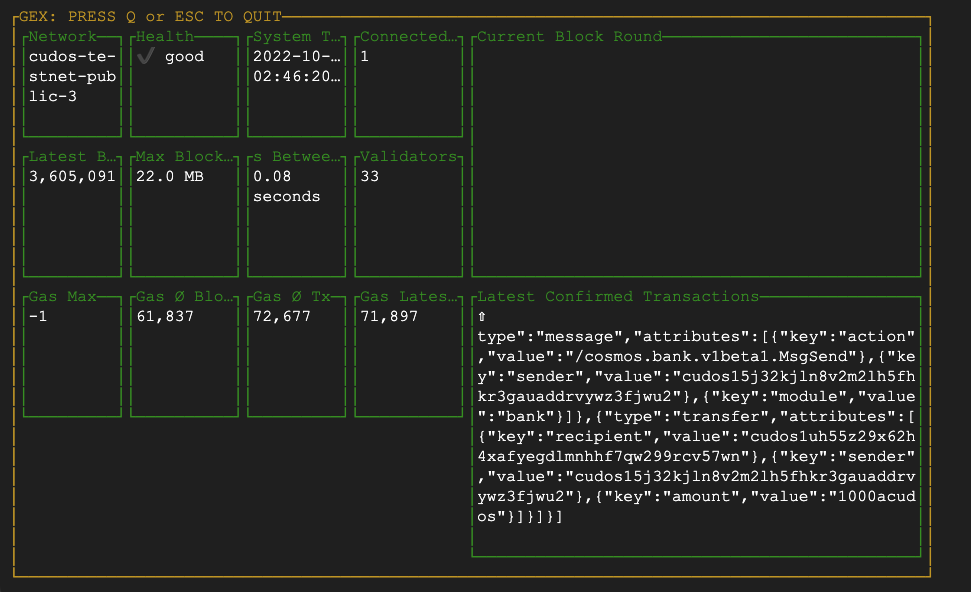
If you can see streaming activity after running cudos-gex you have successfully run a Validator cluster.
04 Stop the node running
root@cudos-node:~# systemctl disable --now cosmovisor@cudos
Removed /etc/systemd/system/multi-user.target.wants/cosmovisor@cudos.service.